The Management Portal
Lesson 2.10
Lesson 3.2
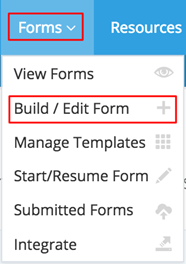
3.1 A Quick Guided Tour of the Management Portal
The Management Portal has many features but is primarily designed to:
- Help you Create your Forms
- Create, Dispatch, Schedule and View Active Jobs
- Store and Manage Resource Documents
- Receive, View, Edit & Store all Submitted Forms
- Complete and Submit Web-Based Form from the Management Portal
- Create PDF and Email Reports
- Enable Reporting on your data
- Create and Manage Databases that can be linked to your forms
- Provide the tools to integrate with other solutions.
- Manage your Users and their permissions
The First Steps are normally:
- Build a New Form and Dispatch it to the App (Forms > Build New Form).
You may already have forms pre-built and automatically assigned to your account.
- Download the App and see the Forms you have built (or the Forms that were automatically added to your account)
- Complete the Form in the App and Submit it.
- Review the Submitted Form back in the Management Portal (Forms > Submitted Forms)
- View the PDF of your Submitted Form (Forms > Submitted Forms > Select Form > View PDF)
- Then review the Jobs section where you can create a Job, attach the relevant forms and then Dispatch the Form to a mobile App User.
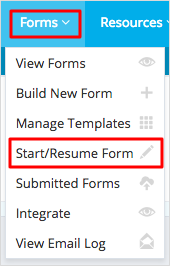
Completing Forms in the Management Portal (rather than via the Mobile App)
Once a form has been created, it can then be completed not only via the Mobile App but also from the Management Portal. To access the forms go to Forms > Start / Resume Form in the Forms Menu:
Or, you can also select the Start New Form via the green Quicklink button located on various pages throughout the Portal:

We will cover off all of the steps and more in following sections of the Guide.
Let us build your form for you
You must be logged in to use this feature.